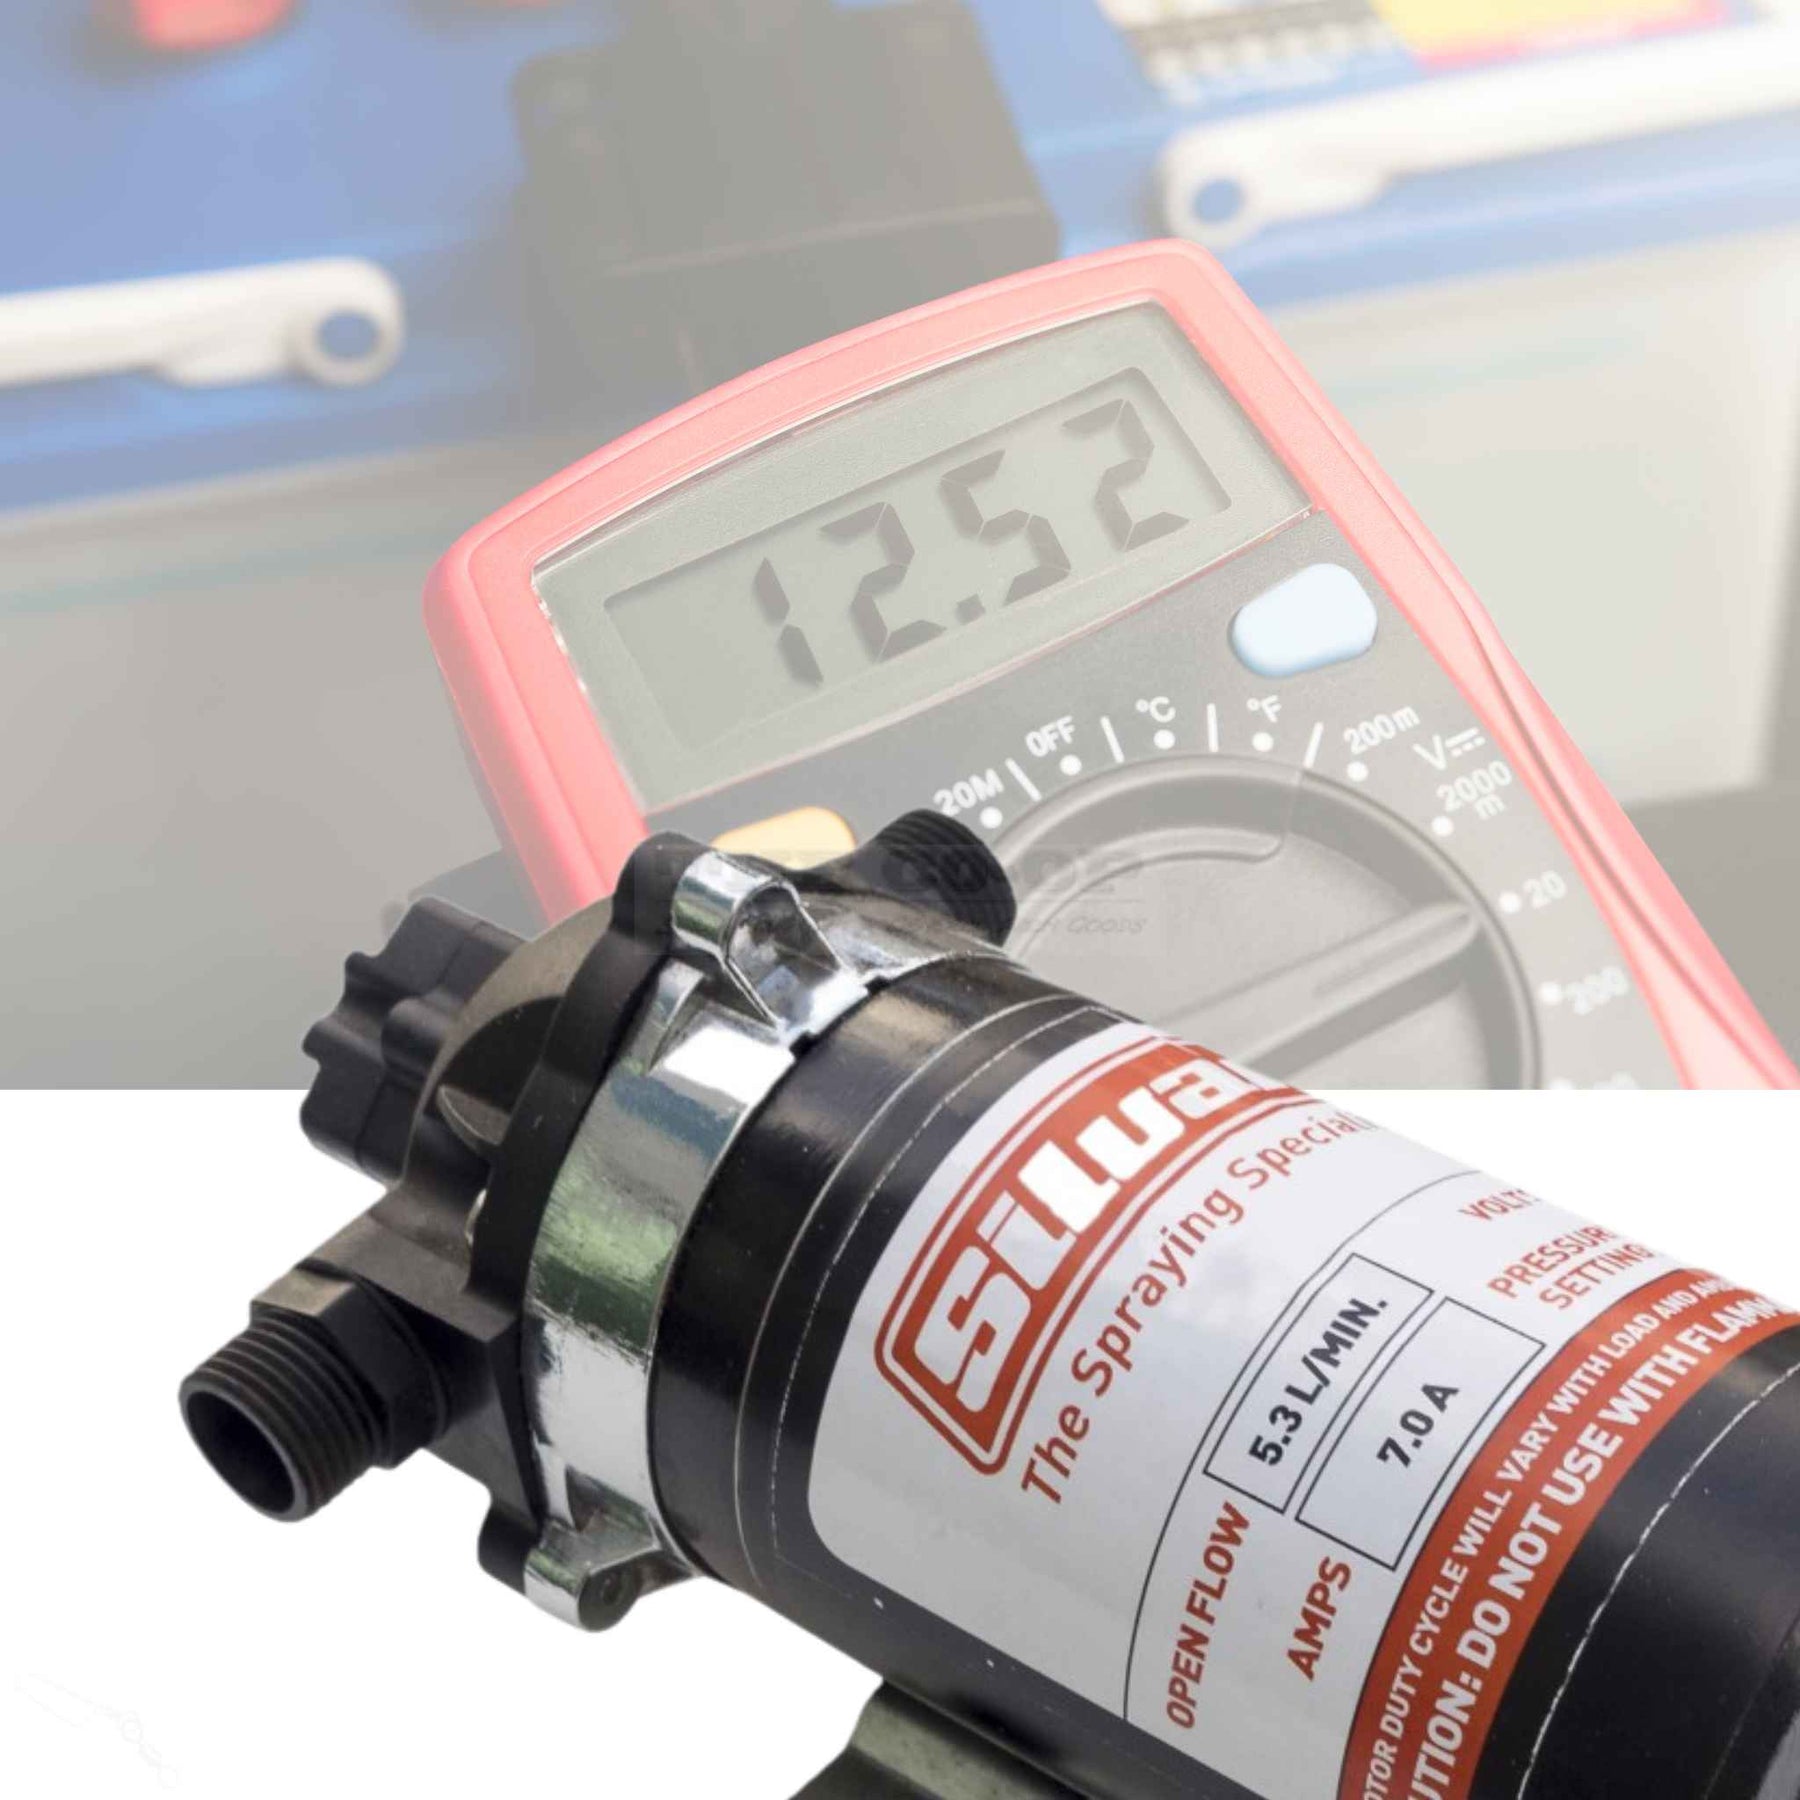
12v Pump Stopped? A Quick Way to Diagnose Pressure Switch and Motor

The purpose of this resource is to diagnose a possible pressure switch failure on a 12 volt diaphragm pump.
This serves as a basic guide and should be carried out by a capable person
Tools required;

Long nose pliers

5 ~ 10cm of electrical wire with bared (stripped) ends.
Method:
- Ensure that the power supply to the pump is good, and the pump has 12 volts going to it and all wires are connected properly in the circuit. Have you used a test light or multimeter to check there is power getting to the pump? It's possible wires have been stretched or corroded and there's no power at the pump, testing this first is always a good option
- Disconnect pump from power and disconnect hoses both to and from the pump. Avoiding this step can result in injury or damage to pump.
- Using long nose pliers, carefully grip the electrical wire on the connecting terminals and remove both wires from the pressure switch.

- Once the terminals are disconnected, use your 5 ~ 10cm of electrical wire with bared (stripped) ends to insert the stripped ends into each of the wire terminal connector ends.

- Once wire is secured into terminal connectors then reconnect pump to power.
- If the pump runs this indicates the pressure switch has failed.
- If the pump does not run this indicates the pump motor has failed
Important:
Do not attempt to 'get by' and operate the pump in this format to, 'finish the job', if you do, you may damage the pump beyond repair.

Leave a comment